
In recent years, artificial intelligence (AI) has become an integral part of our daily lives, whether from chatbots, virtual assistants or more sophisticated tools like agentic coding applications. Many of these typically require increasingly expensive subscriptions to services that run the models in the cloud, but there is a different way: there are a lot of open source models that can be run on relatively inexpensive hardware at home.
Choosing the Right System
The first step in building a home AI server is selecting the right system. The simplest way is, perhaps, to use a modern Mac Mini with sufficient memory, but that can be expensive if you don’t already own that hardware. An alternative is to find an inexpensive used system on eBay that has at least two PCIe x16 slots (make sure to check the specs to ensure that the slots really are 16 lanes wide and not just using the x16 connector). I went for a Lenovo ThinkStation P520C, which is a mini-tower system with two x16 slots. I did upgrade the PSU since I was going to be running two power-hungry GPUs in there.
Selecting Used NVIDIA GPUs
If you’re using the Mac Mini approach, you can skip this section as the system has an integrated GPU. For those building a Linux system, we need to find some cost effective, reasonably modern GPUs. This is the part that stretches the budget for sure, but the goal here is to maximize the GPU memory (VRAM) even if you end up with a slightly less capable GPU. Large language models (LLMs) are very memory hungry.
My choice was to add two NVIDIA GeForce RTX 3060 GPUs with 12GB of VRAM each. I bought both of them on eBay. If you can afford 16GB cards, go for it, but make sure they are Ampere architecture or newer.
Installing the Operating System & Drivers
Now that your hardware is ready, it’s time to set up the software stack. For the Mac users, you can skip the OS installation of course, and jump to the software needed to run LLMs locally. For those building a Linux server, I suggest Ubuntu Server 24.04 as the operating system of choice due to its stability and extensive support for AI frameworks. If you are using the system as a desktop, and have the keyboard, mouse and monitor, use Ubuntu Desktop 24.04 instead.
Once you have the OS installed, you’re going to need to get a driver for the GPUs. Here’s a good way to get this done, which works on the server or desktop (for the latter, you’ll need to open a terminal window):
sudo apt update && sudo apt upgrade -y
sudo add-apt-repository ppa:graphics-drivers/ppasudo apt update
sudo ubuntu-drivers autoinstall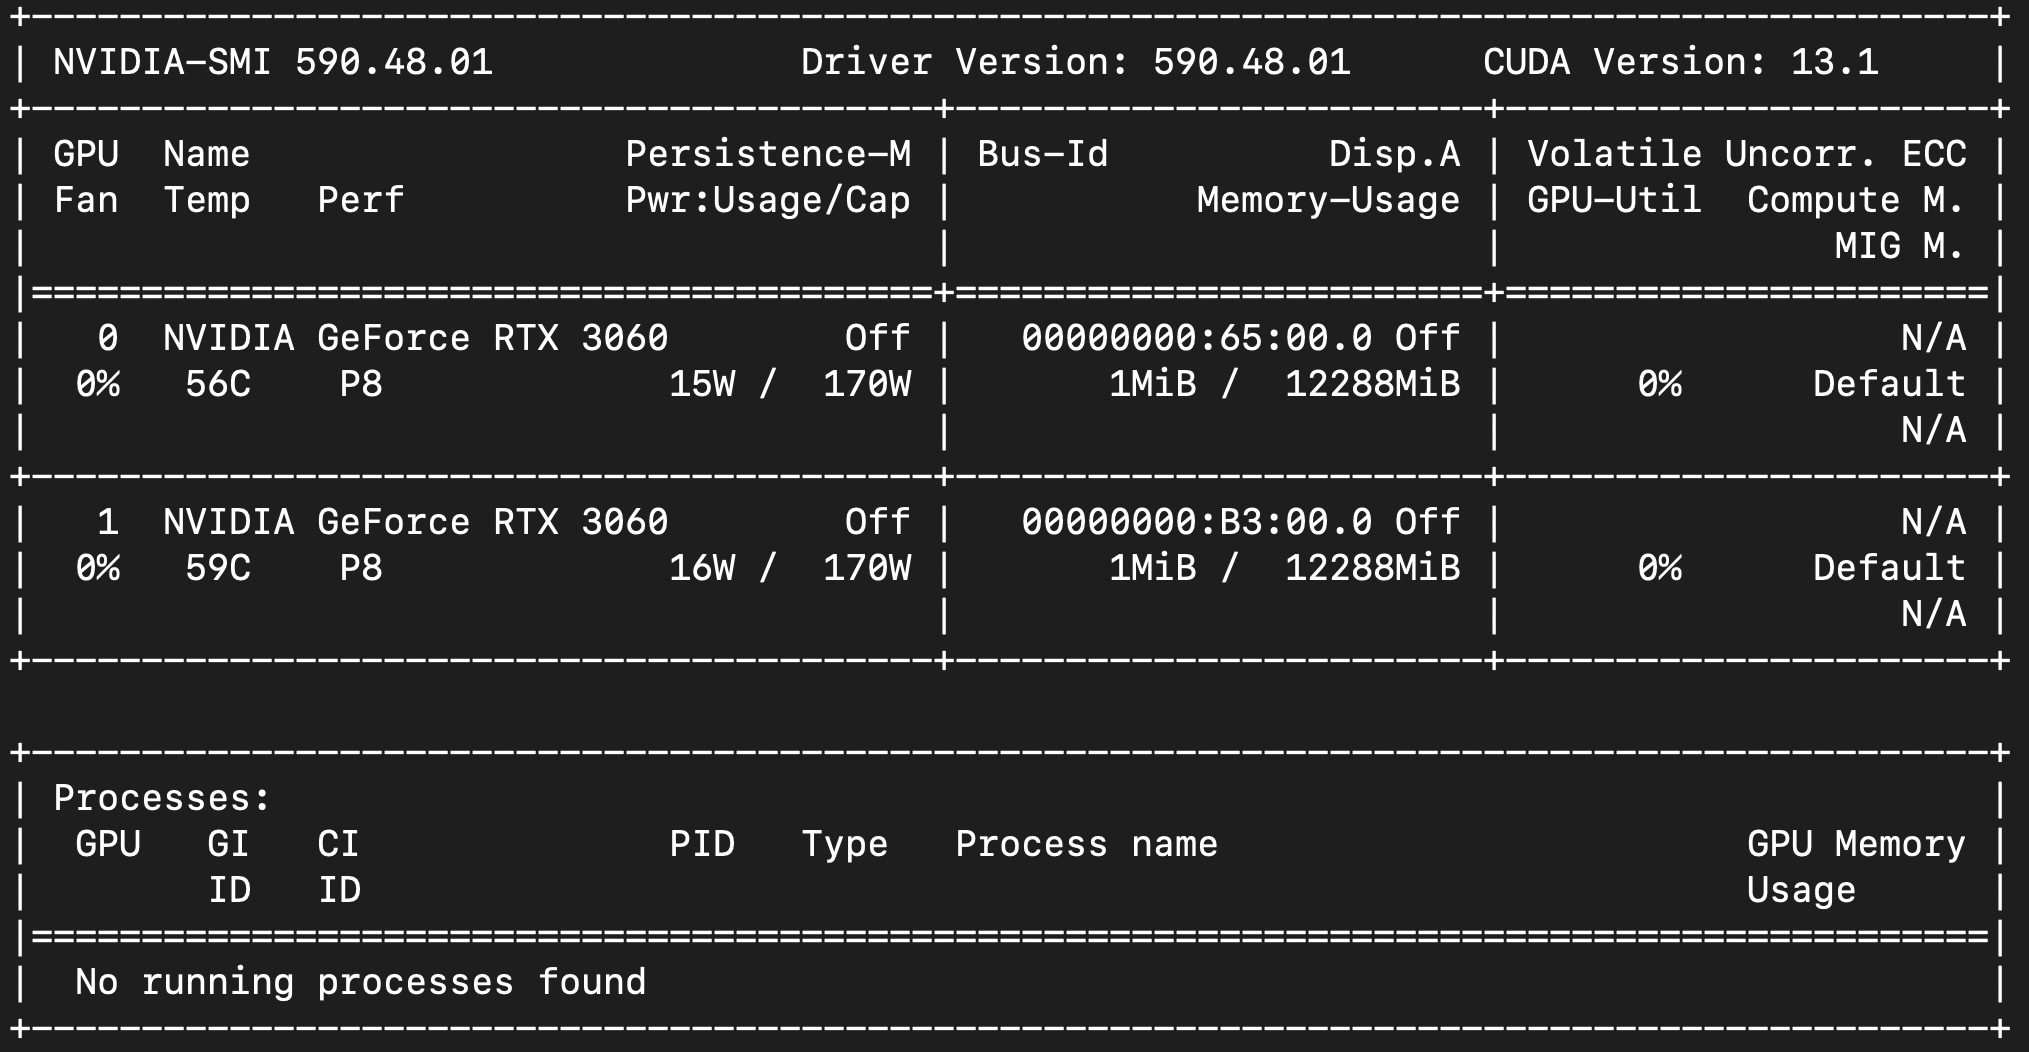
sudo rebootAfter rebooting, check if the NVIDIA driver is loaded and has found the GPUs successfully using the nvidia-smi command. You should see your GPU with its memory and compute capabilities.
Installing Ollama and Open WebUI
Ollama is a powerful tool for running AI models locally, while Open WebUI provides an easy-to-use interface for interacting with these models.
Step 1: Install Ollama
Visit ollama.com/download and follow the instructions there to install Ollama on either your Mac mini or your Linux system (there is also support for Windows, if you prefer to run it there).
Step 2: Install Open WebUI
Follow the instructions in the OpenWebUI documentation to install OpenWebUI on your system. My recommendation would be to use the docker installation (which is what I have been using on my Linux system).
Configuring Ollama for LAN Access (Optional)
By default, Ollama only accepts connections from localhost. To enable access from other machines on your LAN (only necessary if you want to access it from other machines rather than using the system directly).
- Open the Ollama configuration file:
sudo nano /etc/systemd/system/ollama.service - In the
[service]section, add this line:Environment="OLLAMA_HOST=0.0.0.0" - Reload the daemon configuration files:
sudo systemctl daemon-reload - Restart Ollama:
sudo systemctl restart ollama.service
Final Configuration and Testing
- Open the Open WebUI interface in your browser at
http://<server-ip>:11434. - Test your setup by running a simple AI model or prompt.
- Fine-tune your configurations as needed to optimize performance.
Conclusion
Setting up a home AI server is an exciting project that opens up endless possibilities for experimentation and innovation. By carefully selecting hardware, upgrading components as needed, and configuring the right software stack, you can create a powerful AI server that meets your needs.
With tools like Ollama and Open WebUI, you’ll be able to run advanced AI models locally, explore new ideas, and push the boundaries of what’s possible with artificial intelligence. Happy building!